Showing posts with label Nails. Show all posts

14 March 2017

Dia daoibh!
Today I'm here with a nail post and it's on falsies by Elegant Touch. This 'Totally Bare Mixed Nails' bumper set, in particular, caught my eye as it includes three different shapes - Stilletto, Oval and Square.  As I'm not a regular false nail wearer, I thought this would be an ideal set to try out to decide which shape I prefer.  If you do know what shape is your fav, then these sets also come individually with each shape too.  

14 January 2014

Dia daoibh!


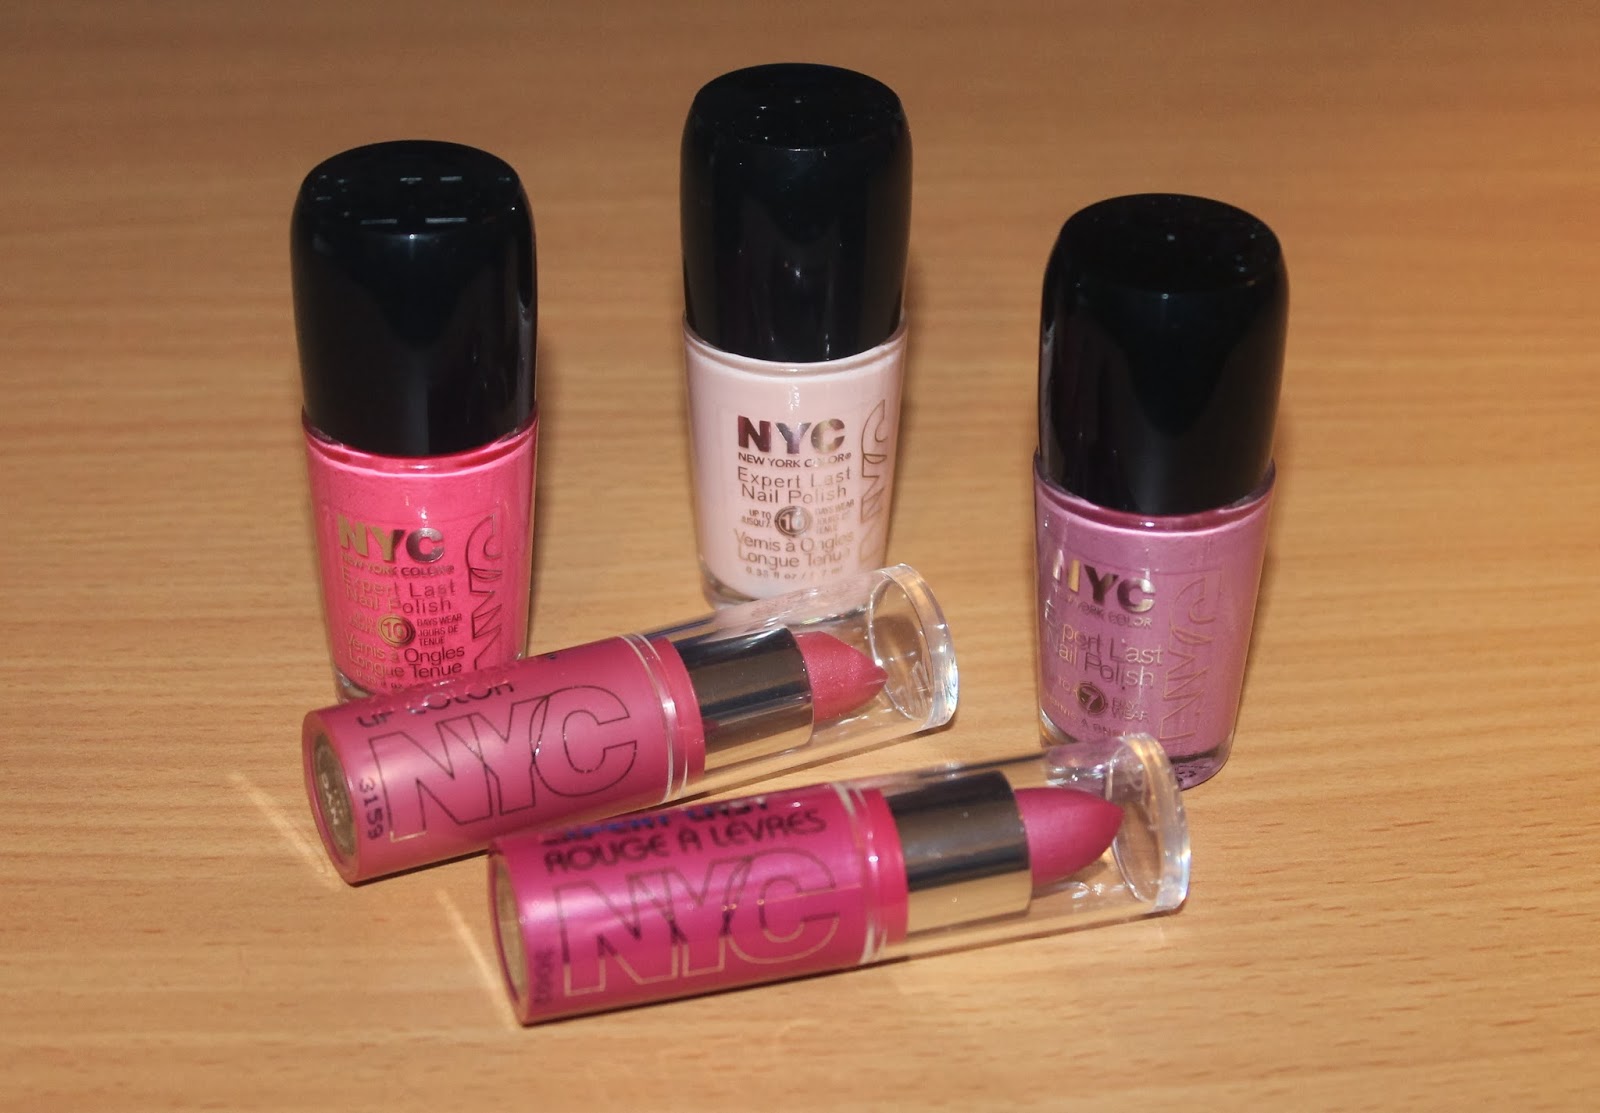
So, it's January - renowned for being.......crap. The next event we have to look forward to (or dread!!) is Valentines. Below I bring you NYC's Valentines Collection. Now obviously these can be worn all year round but they are particularly suited for Valentines as everything I'm about to show you is pink! Let's delve into the girlishness!!


First up are 3 pink hues. I'm a fan of New York Color's Expert Last Nail Polishes especially. At only €1.99 they won't break the bank and they have an array of shades.


Swatches above were 2 coats each. I find NYC Polishes to be hit and miss depending on the formula (the shimmery ones can be and bit uneven and streaky) but in general you'll need 2 coats minimum.

 On the left is my fav - Bubblegum Pink, a gorgeous coral tinted pink. In the bottle it appears more pink in the bottle but once it hits the nail it has more of a unique touch of creamy coral to it.

In the middle - I was quite surprised at the coverage of Oh Soho Sweet. It being a barely there creamy tinted pink, I was expecting it to be super sheer, but I promise you this was also just 2 coats.

On the right is Long Time Lavender -  as shimmery lilac toned pink. I'm not overwhelmed with this one and it would be my miss of the bunch simply because I'm just not a huge fan of shimmery nail polishes.


Now for the lipsticks. I have to say... I'm not a huge fan of these two in particular. Again, like Long Time Lavender Nail Polish, these lipsticks have a shimmer to them which I'm not fond in a lipstick. 


The packaging is quite plastic-y but for them being just €2.49 I won't hold that against them. These would be lovely as a first lipstick though as they're not hugely pigmented. I think slight shimmer on the lips is just darling on young ladies entering the world of make-up (just not partnered with shimmery eyes or cheeks!)


Below is 417 Flirty on the lips.


Below is 411 Snowcone on the lips.


So there you have it. New York Color's Valentines Collection. Anything tickle your pink fancy?

Slán!


The above products were sent to me from the brands PR Team for reviewing purposes. All opinions above are completely my own, 100% honest thoughts on the product. 

26 February 2013

11 December 2012

21 October 2012

Dia daoibh!


Below is a video show you how I got on with the Myleene Klass Nails. I have one pack to giveaway here on my blog and another from >My You Tube Channel< You can enter both, just leave a comment below this blog post or in the comments under >my video on You Tube<.
Please be a follower of my blog/subscribed to my YouTube to be entered :) Open internationally. If you are under 18 please seek parental permission. Giveaway closed Sunday 28th October 2012 12pm GMT.


Slán!
Update: 30/10/12
GIVEAWAY WINNERS!!!!
Blog winner : Sophie
You Tube Winner: amyoc27
Thank you everyone who entered :)

The above product was sent to me for free from the Myleene Klass PR Team for reviewing purposes. All opinions above are completely my own, 100% honest thoughts on the products. 

07 December 2011

Dia daoibh!

So, gradually I am being slightly enticed by glitter. Most people that know me, know that I'm not a "glittery" kinda gal. It's a bit tack-mac-tack a lot of the time, but this year a lot of nice glitter nail polishes have hit the shelves. 
Lorraine over at 'John Its Only Make-Up!' recently blogged about her blue glittery nails thanks to Essence; a brand I really like for nail varnish. Now this was FULL ON BLUE GLITTER and I really liked it. I went on my own little trip and bought a bottle for myself but in a different colour. Now I still would't be a glitter fanatic, but I'm getting into it....gradually. Here's how!

Step 1: base colour.


Step 2: SOME glitter. Just one coat! I usually just do my thumb and engagement ring finger on each hand, but last night.... I went further and did every second fingernail!! BOO YA!! (even though that only makes it one nail more; but shhhh!)


Are you sparkalaphobic!? (I googled!)

Slán!

18 November 2011


Dia daoibh.

Today will be my first RAPID REVIEW. I introduce to you, Barry M Instant Nail Effects - Foil (don't know why they put the words in that order! A bit strange I think but whatevs!)


It comes in silver and gold. Here it is on my nails on it's own. I think it will look fab if you were to add some sparkles or gems or even as an accent nail for another look.


Application is really smooth (as it usually is with most metallic-ish nail varnishes). One coat will suffice and it dried very quickly. The only thing I was concerned about with this was brush streaks, but after I had applied, I could see this wasn't an issue. On this next mega close up you can see the brush strokes but it still looks neat. In person it's not noticeable as it turns out beautifully smooth and .....metal silver-ish!


I bought mine from ASOS HERE It's priced at €5.20 but you can get 10% off  if you enter BONUSTEN at checkout. Overall; I like it :)

Slán


09 November 2011

Dia daoibh!

So yesterday I wrote about Sally Hansen Salon effects and how to apply them. Today I'm going to show you the results on how they lasted. On my left hand I used a clear topcoat to see if it would help for the polish strips last longer. I used Sally Hansen Hard Nails. (which isn't actually designed as a topcoat....but still!) My right hand, I just left as it was after the application.


So here are my results. You can click to zoom in further.
DAY 2

DAY 5
 Between day 4/5 is where I had my first chips on my right hand on the 3rd nail. This was after having a shower.
DAY 6
On day 6, the second nail on my right hand chipped.
DAY 7 
Day 7 was the second day I had a shower and there was (very slightly) a bit more chipping to the same nails on the right hand. As you can see, this is where you can see my nails starting to grow, so you can see between my skin and my nails.
DAY 9
 Day 9 was my final day. Although the left hand (with the topcoat) lasted brilliantly, my nails had grown quite a bit at this stage. You can see this in the picture below. Also, the only tiny slip on my topcoated nails were tiny cracks on my index finger.
Here you can see how much my nails had grown!!
No bad at all eh!? They definitely last longer than regular nail varnish in my opinion. Now, I am right handed which might lead you to think this is why I was more worn on the right nails. I'm not so sure though, I'm pretty ambidextrous in day to day life! I would highly recommend a top coat to make the Salon effects last longer.

Slán

These products were sent to me for free from Sally Hansen's PR Team for reviewing purposes. All opinions above are completely my own, 100% honest thoughts on the product.

08 November 2011

Dia daoibh!

So these babies from Sally Hansen having been flying around the Irish blogging community recently. They should be in shops now and they go by the name of 'Salon effects'. They are basically strips that are actually a type of.... I guess you could say solid nail varnish! I was sent these two sets to try out a few weeks ago.

L - Frock Star        R - Kitty, Kitty
Here's what's included in one pack: Instructions, 3 sided emery board, wooden cuticle pusher and 16 sealed strips.


So I'm gonna get straight into the application process, which is indeed quite straight forward. First off, make sure to begin with clean polish free nails.


  1. (If desired - some people do not like doing thins) Start off by gently pushing back cuticles (where your nail and skin meets) This is just to make sure your nails are shapely and looking as long as possible.
  2. File your nails to the shape you like using the pink side of the emery board.
  3. Buff the nails (back & forth motion) using the other white side of the emery board. This is to make them as smooth as possible.
  4. Choose what strips will fit your nails the best. They are rather large so really it doesn't make much of a difference (they more a less all overlapped my small nails!)
  5. Remove the clear protective plastic from the strip. 
  6. Then remove the backing paper so you are left with just the strip and pull off the silver tab.
  7. Apply to the nail. It is easiest to place the strip near the cuticle, hold it in the middle with another finger and gently stretch the strip to cover the nail.
  8. Use the flat side of the wooden cuticle pusher to push down and bond the strip to the nail around the edges. You can also flatten down with your fingers. As you can see in the picture the strip was too big for my nails so again you can use the cuticle pusher to gently scrape away overlapping edges.
  9. File towards the middle of the nail on both sides to remove the excess strip using the orange side of the emery board.
  10. Eh voila! Looks just like a painted nail, no thickness or weird feeling!


 As 16 strips are included, I had 6 left over so I have wrapped them in tinfoil in the effort the prevent them from drying out! I can use these for "accent nails" I guess :)


Overall I really am impressed with these. I've gotten so many compliments on them and people presume I had them done at the salon as they look so intricate! They claim to last for 10 days. I have tested this out and will be posting the results tomorrow :) It does take time to put them on however. As a first timer it took me about 30 mins. (I was taking pictures though)

Sally Hansen Salon effects are available from selected pharmacies, department stores and grocery stores nationwide for €8.95. They come in the following 9 shades:

Top L-R: Frock Star, Glitz Blitz, Blue Ice, Girl Flower,
Bottom L-R: Wild Child, Misbehaved, Laced Up, Kitty, Kitty and Check It Out.

The only thing I don't like about them so far is the mess I left behind!!


Slán

These products were sent to me for free from Sally Hansen's PR Team for reviewing purposes. All opinions above are completely my own, 100% honest thoughts on the product.


15 June 2011

Hi All

Ok so this is just a super quick post on this Models Own Nail Varnish. This one in particular is called Bronze Rage. It's a deep burnt orangey bronze colour. Not a colour I'd usually go for but I'm a chancer!!


 As far as I am aware, this came out last year in the Spring/Summer Collection. Models Own are forever releasing new collections and I have to say I am a fan. I'm not a trend follower but there's always at least one that catches my eye from each collection. The varnishes price at about €7.50 each and are available from places such as Boots, River Island, Asos. (Boots are great for going 3 for 2 offers on Models Own)

One thing in particular I like about these nails varnishes is the staying power. It stays on for a good 3 days before it starts to chip at all. I would consider this an achievement. Also I love the application of these metallic ones in particular. They seem to glide on to your nails very smoothly and turns out very sleek with no streaks. They also seem to dry reasonably quickly. 

Any recommendations for Models Own shades for me? I particularly like brown, greys, taupes, purples and them kind of things amongst pastels also! 


Slán!

Laura xo

06 May 2011

Hi everyone!

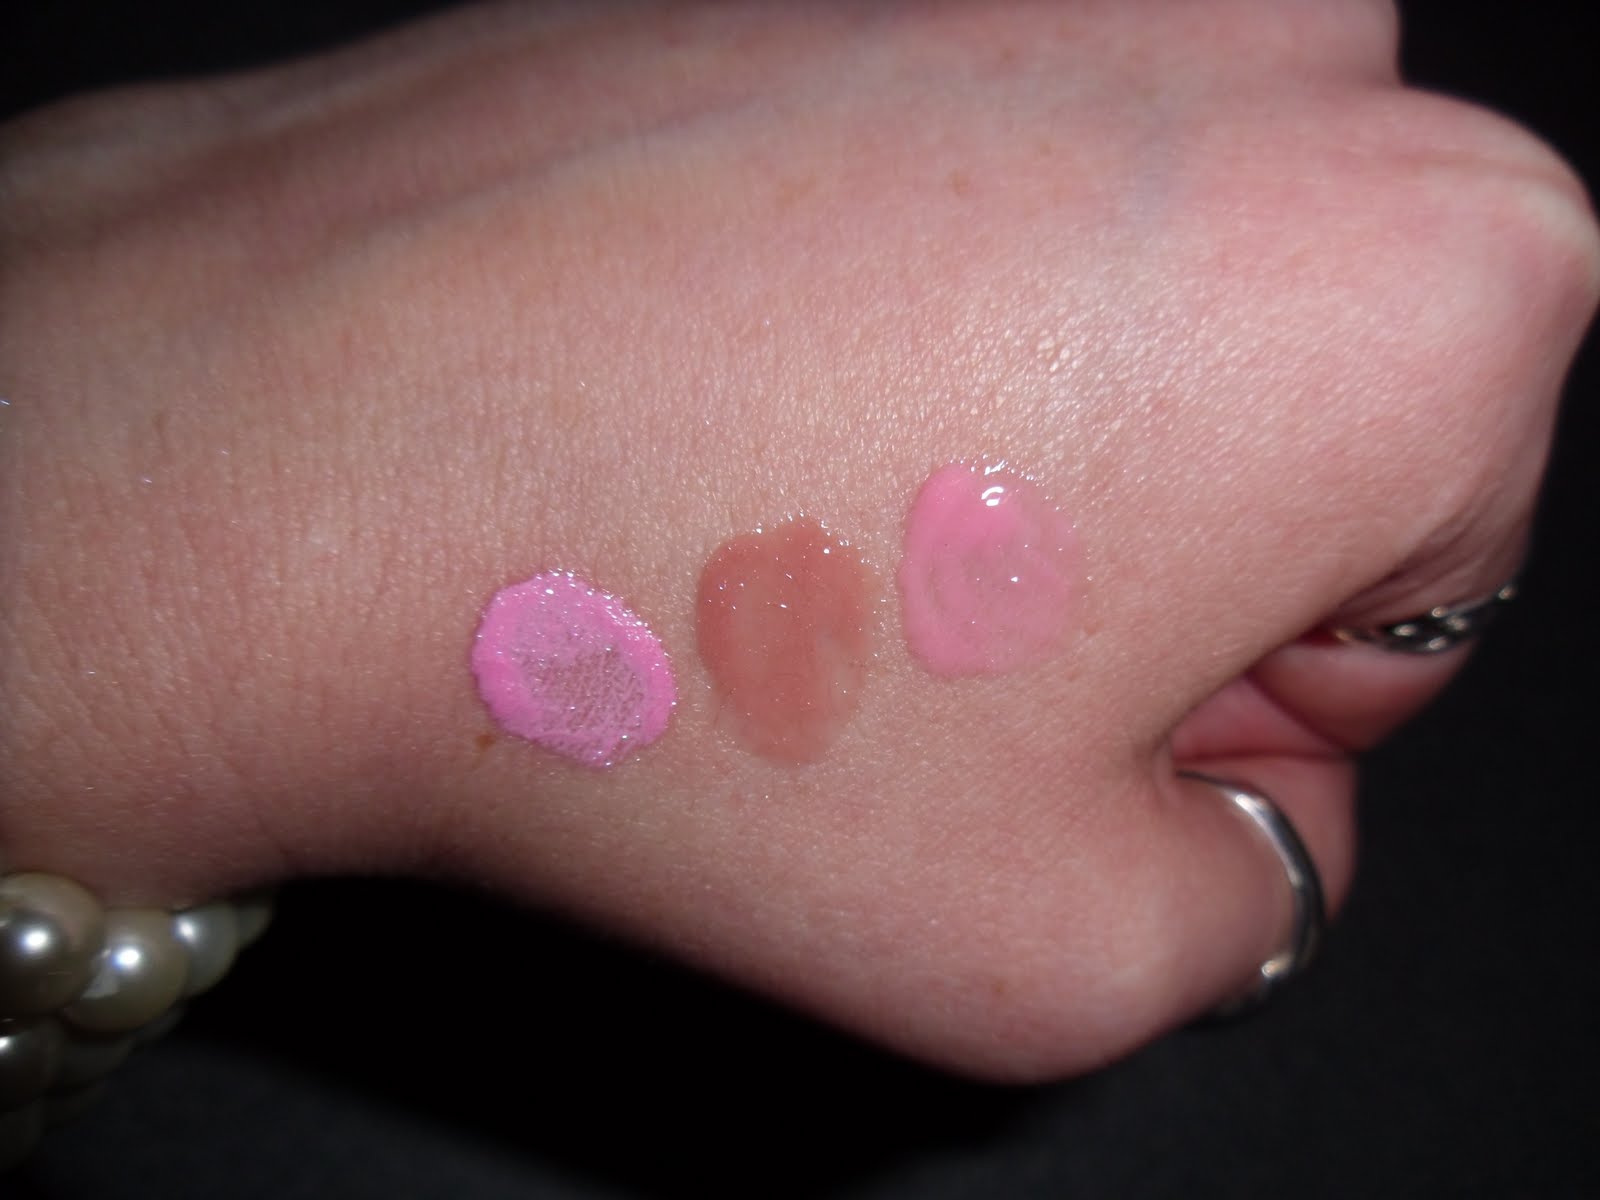
So this will just be a quick little post to show you a couple of things I picked up in Boots recently. I'll start off with these 3 liplosses from Barry M.
 top to bottom Strawberries and Cream (3) Toffee (2) Pastel Pink (4)

Pastel Pink (4) Toffee (2) Strawberries and Cream (3)

I saw these shades and was like "Oh hell to the ya!!" They're all pretty pale colours which I have to be careful of - I can be picky with pale ones. Price wise they are between €5-€6.
 I was immediately attracted the the brown one, but ultimately this was the one I was most disappointed with. I have quite pigmented lips so a gloss or lipstick needs to be quite strong for it to turn out well on my lips - and this didn't. In saying that if I use my foundation brush to lightly brush over my lips after applying my foundation (which it what I usually do anyway) it turns out a bit better. I find that doing so with the foundation on the lips it gives a good base for the colour of a gloss to come through clearer. This one smells really toffee-ish. 
The Pastel Pink (4) which I would describe as the lilac one is the one I was most surprised with - really pigmented so a little goes a long way. 
The pink is quite well pigmented also - just be wary of how light they come out as it might not be to everyones taste. Perphaps a lipstick underneath might be more flattering. Overall - I really like these.

Next up are two nail varnishes from Revlon - 2 for €12. This is my first time buying a nail product from the brand and I am REALLY impressed. Application and formulation of the varnish is gorg. Coverage is brilliant too. Here's what I got.
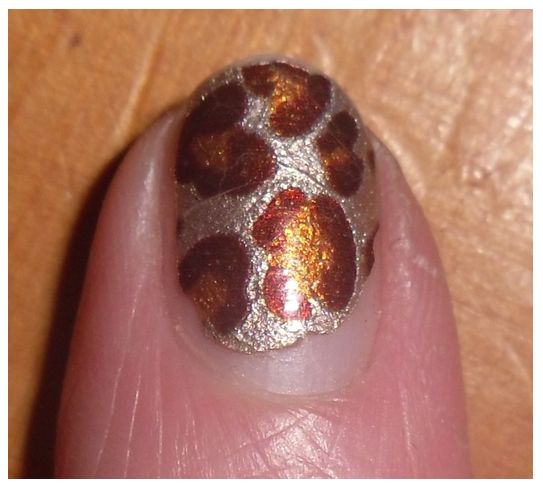

And last of all, I spotted this Kiss nails set. I got the shape "Active Oval" as it was the only one there. It's also available in Active Square and Short Square (6
which is a balls because I actually cut and filed these to a square finish!!) It was under €10 as far as I can remember so I went for this rather than buying one pack of French tipped ones for the same price. I don't usually wear falsies but I had a family christening and felt I wanted to be feminine!!! The only thing about these (well really I suppose this is more me than the product) but I found the sizes of the nails very big. I have quite small fingers so indeed my nails must be quite small in width too. I had to use all the smaller sizes, but no biggie I guess!

Thanks for reading and following ladies

Slán!
Laura  xo

Follow @FitznBitz on Instagram!